Paper lanterns tutorial
This is a small shader graph tutorial on how to recreate my Paper Lantern shader as seen above. It is a slightly simplified version of the shader in my Paper Lantern Festival post.
The first section will briefly go over the setup of creating the model (it’s very simple), the shader, materials and a post-processing volume. Because it is a shader graph tutorial the shader will be explained through a few screenshots of the graph with an explanation on what each section does.
This tutorial was made with Unity 2020.3.1f1 and the Universal Render Pipeline (URP). While it is specifically about shader graph, the general concept can be recreated in any shader format. You can get the project files here, including the initial and finished shader.
Contents
1 Setup
You can skip this section if you’re using the project files.Let’s start with the model. Add a Unity capsule and cylinder to your scene and set their positions to the same value, e.g. (0, 0, 0). Now set the x- and z-scale of the cylinder to 0.5. Your done, that’s the model.
Make a new URP unlit material, set the colour to black and apply it to the cylinder. We are done with the caps and won’t be making any more changes to them.
Create a new unlit shader graph, call it something like UnlitLantern, create a material for it and apply it to the capsule. This will be the main body of our lantern.
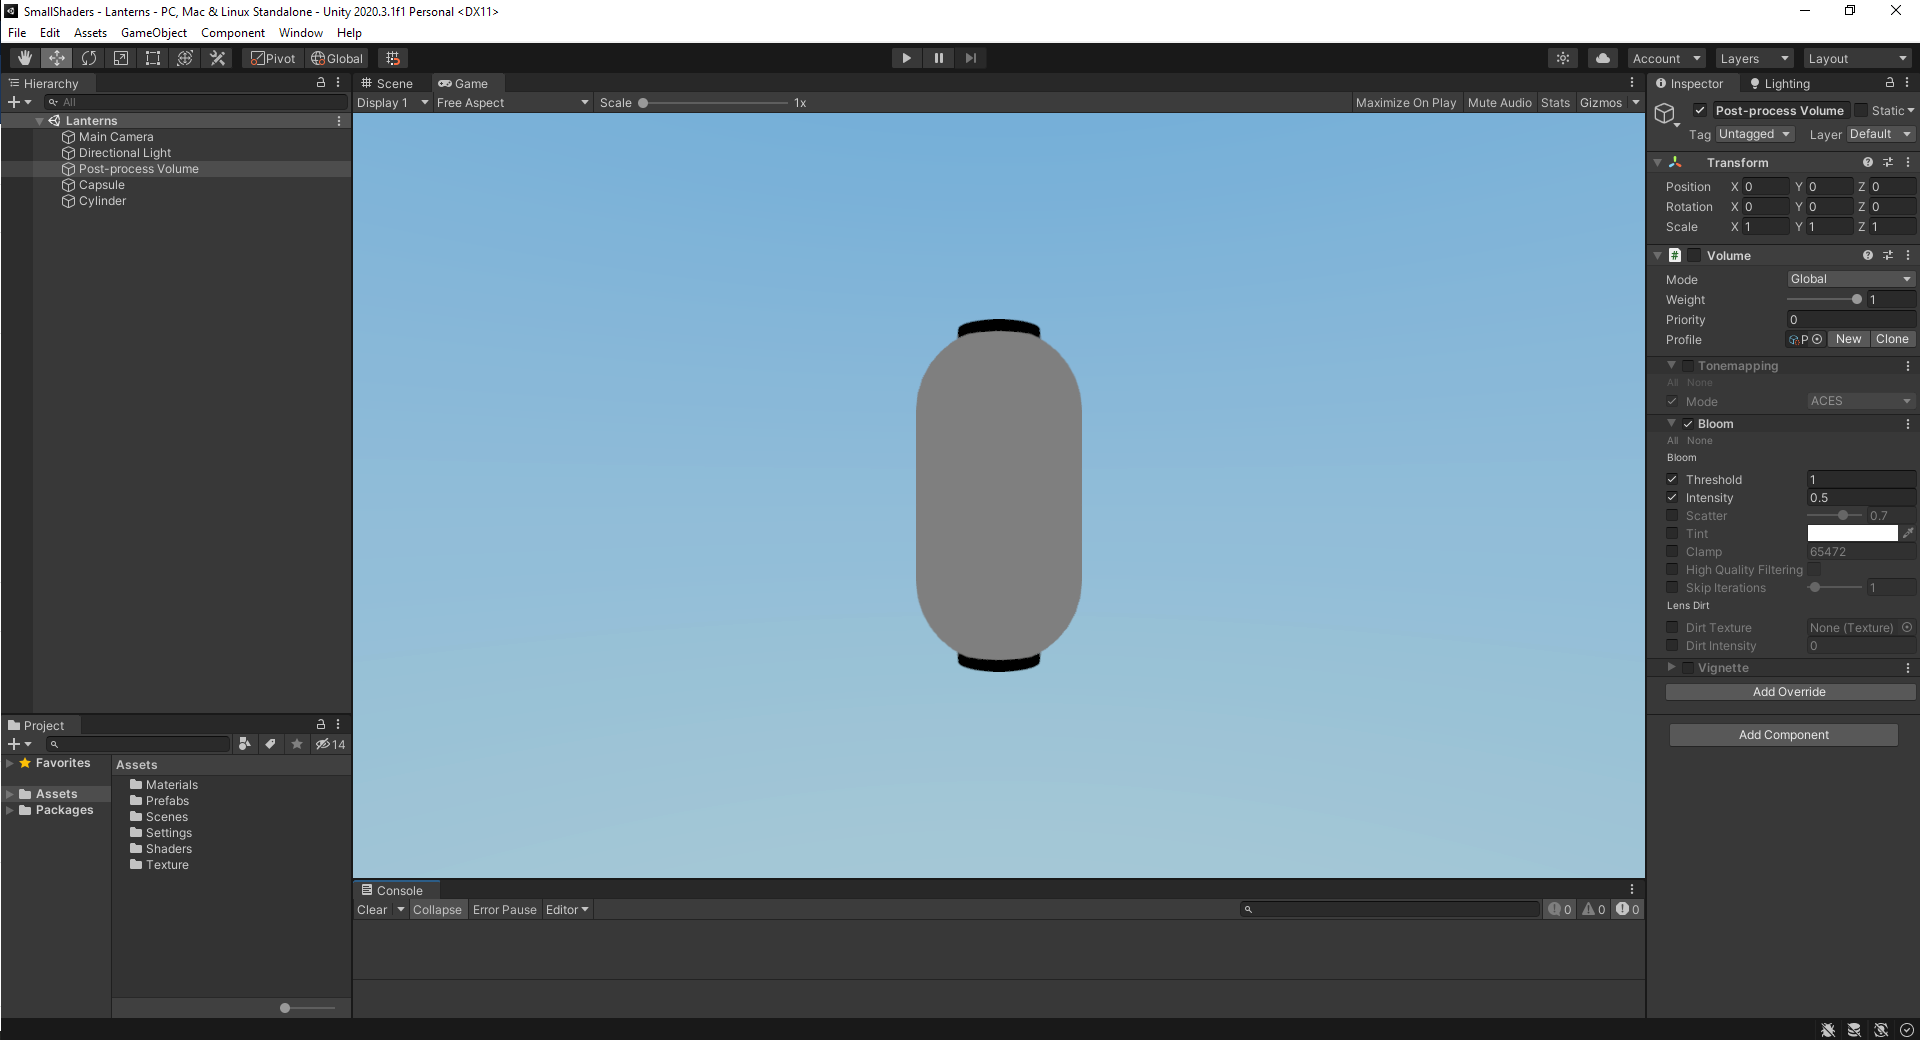
I’ve also added some post-processing to the scene. To do this make a new empty object and add the Volume component to it. Click on New next to profile to create a new profile and add the Bloom override. Enable Threshold and Intensity and set them to 1 and 0.5 respectively.
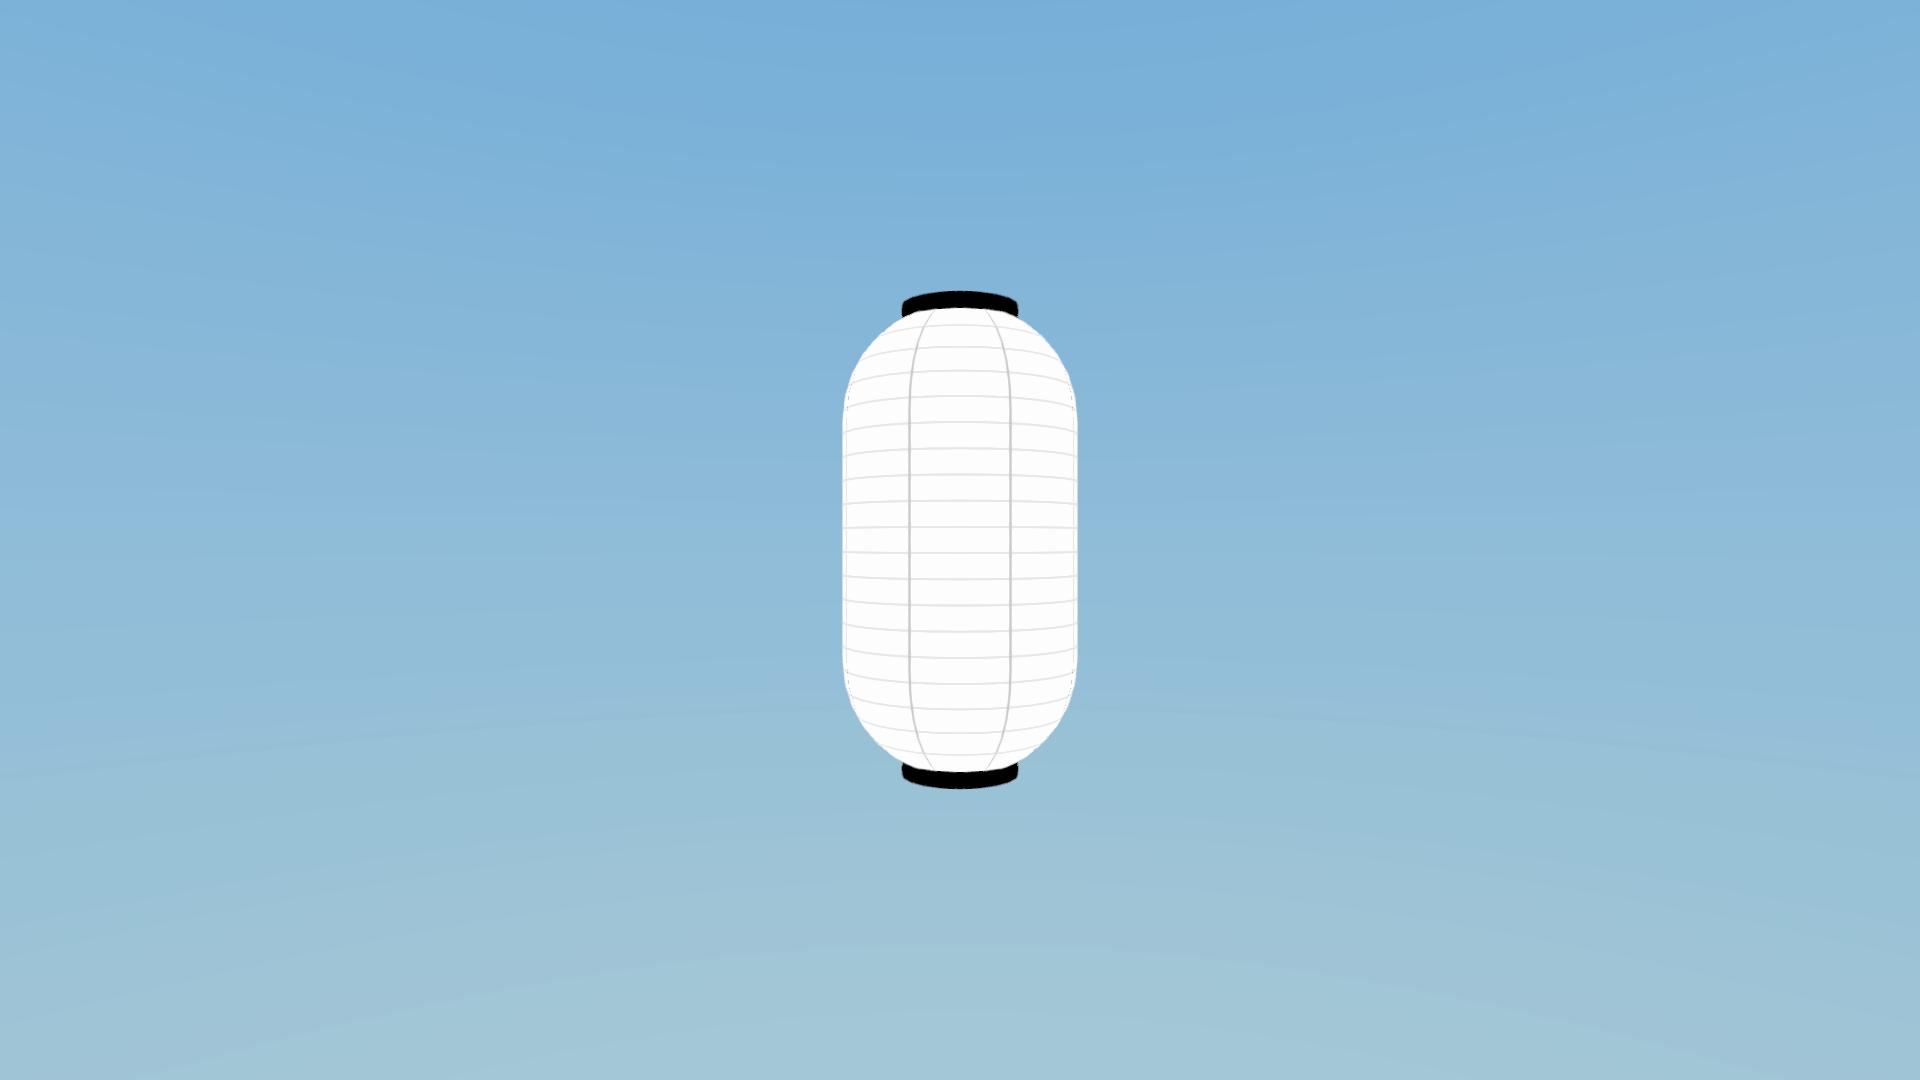
That is the setup and your scene should now look like below (except for the skybox).
2 Wrinkles

Open up your UnlitLantern in shader graph and lets start with the wrinkles found on a paper lantern. The wrinkles are split in horizontal and vertical wrinkles but the concept is the same. We make a mask using a cosine and smoothstep it to create bands.
We start on the left with the Position node in Object mode, which we’ll use to determine where wrinkles should be. For the horizontal wrinkles we simply take the height, while for the vertical wrinkles we calculate the angle in the xz-plane. We multiply this by a WrinkleAmount float, take the Cosine and add 1 such that the lowest value is 0. Smoothstep this value between 0 and another property for the WrinkleWidth. At the end we add a WrinkleMiminimum float to it so that we can control how strongly the wrinkles affect the final colour.
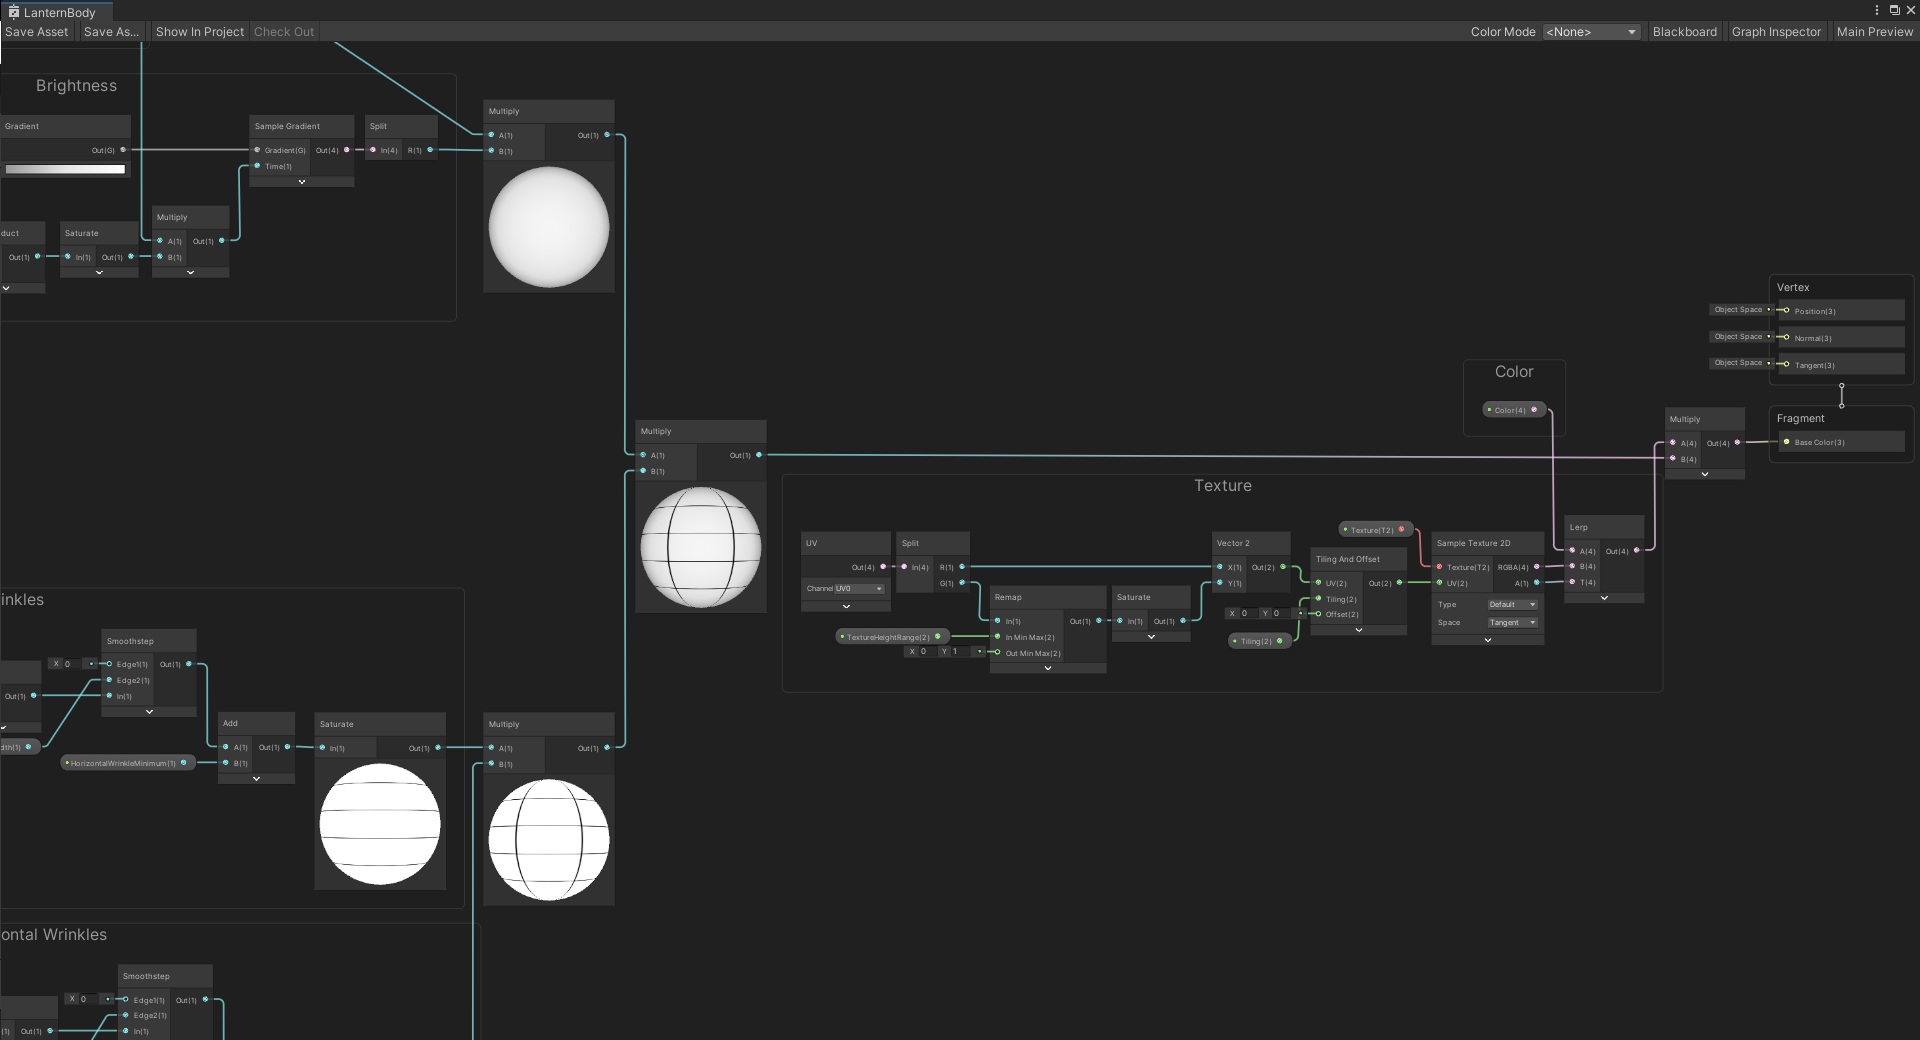
Finally we multiply the horizontal and vertical wrinkles together. If you output this node to the Base Color your material should look as follows (material settings in caption).
3 Light
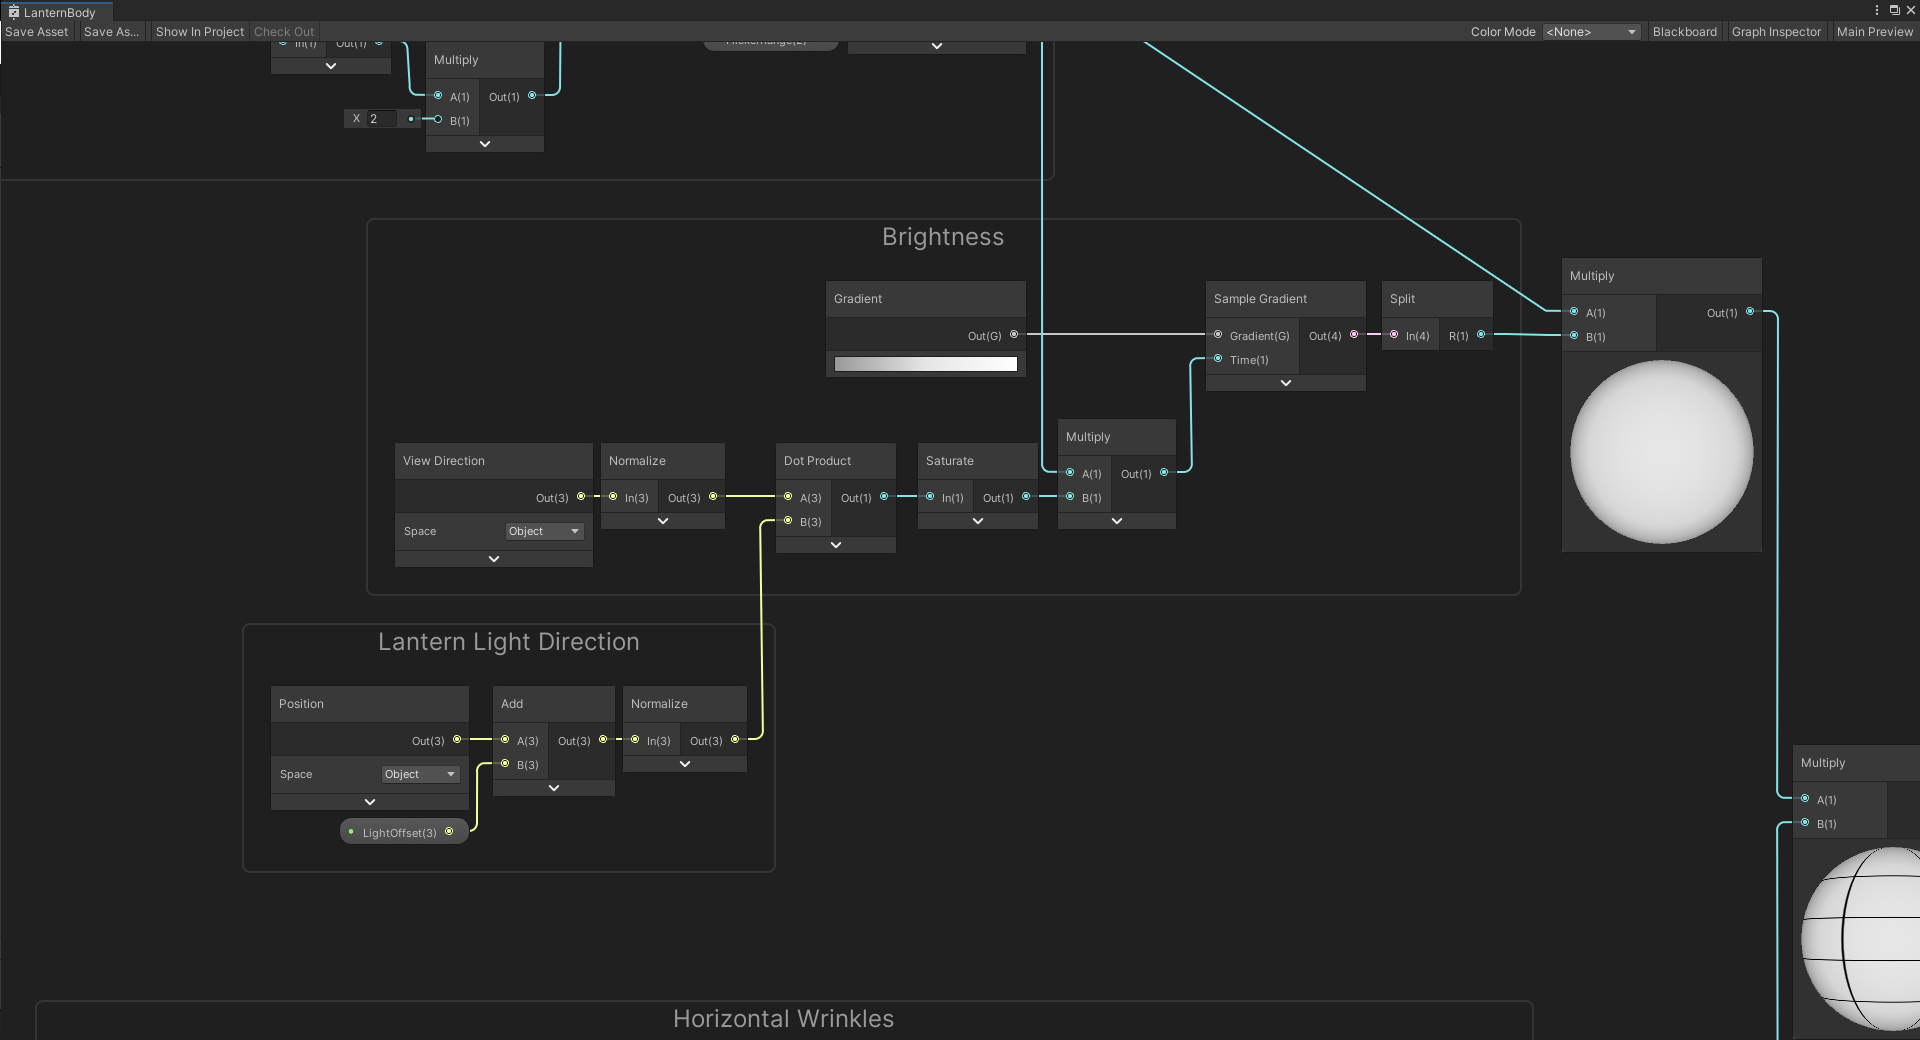
There is no actual light in this shader but we’re going to pretend there is one within the lantern that can be in the centre or offset to some other place. Note that in the graph two lines come from outside the screenshot’s view, these come from the next section on flickering. For now you can simply set them to 1.
We determine the lantern’s light direction by taking the Position in Object space, add some optional offset, and Normalize it. In this sense the light is similar to a point light with the offset as position.
The effect (brightness) of this light on the lantern will depend on if we’re looking at it or not. We use the Dot Product between the light direction and the View Direction in Object space to determine how much we’re looking at it (don’t forget to Normalize the View Direction like I always do). If the dot product is 1 we are looking directly into the light. While this should not result in negative values (when the light direction opposes the view direction) we saturate it just in case.
In order to have some more artistic control over the brightness we have a Sample Gradient node before finally multiplying the output with the wrinkle mask. I’ve used a greyscale gradient with points at 0%, 50% and 100%, which have their Value set to 66, 90 and 100 respectively.
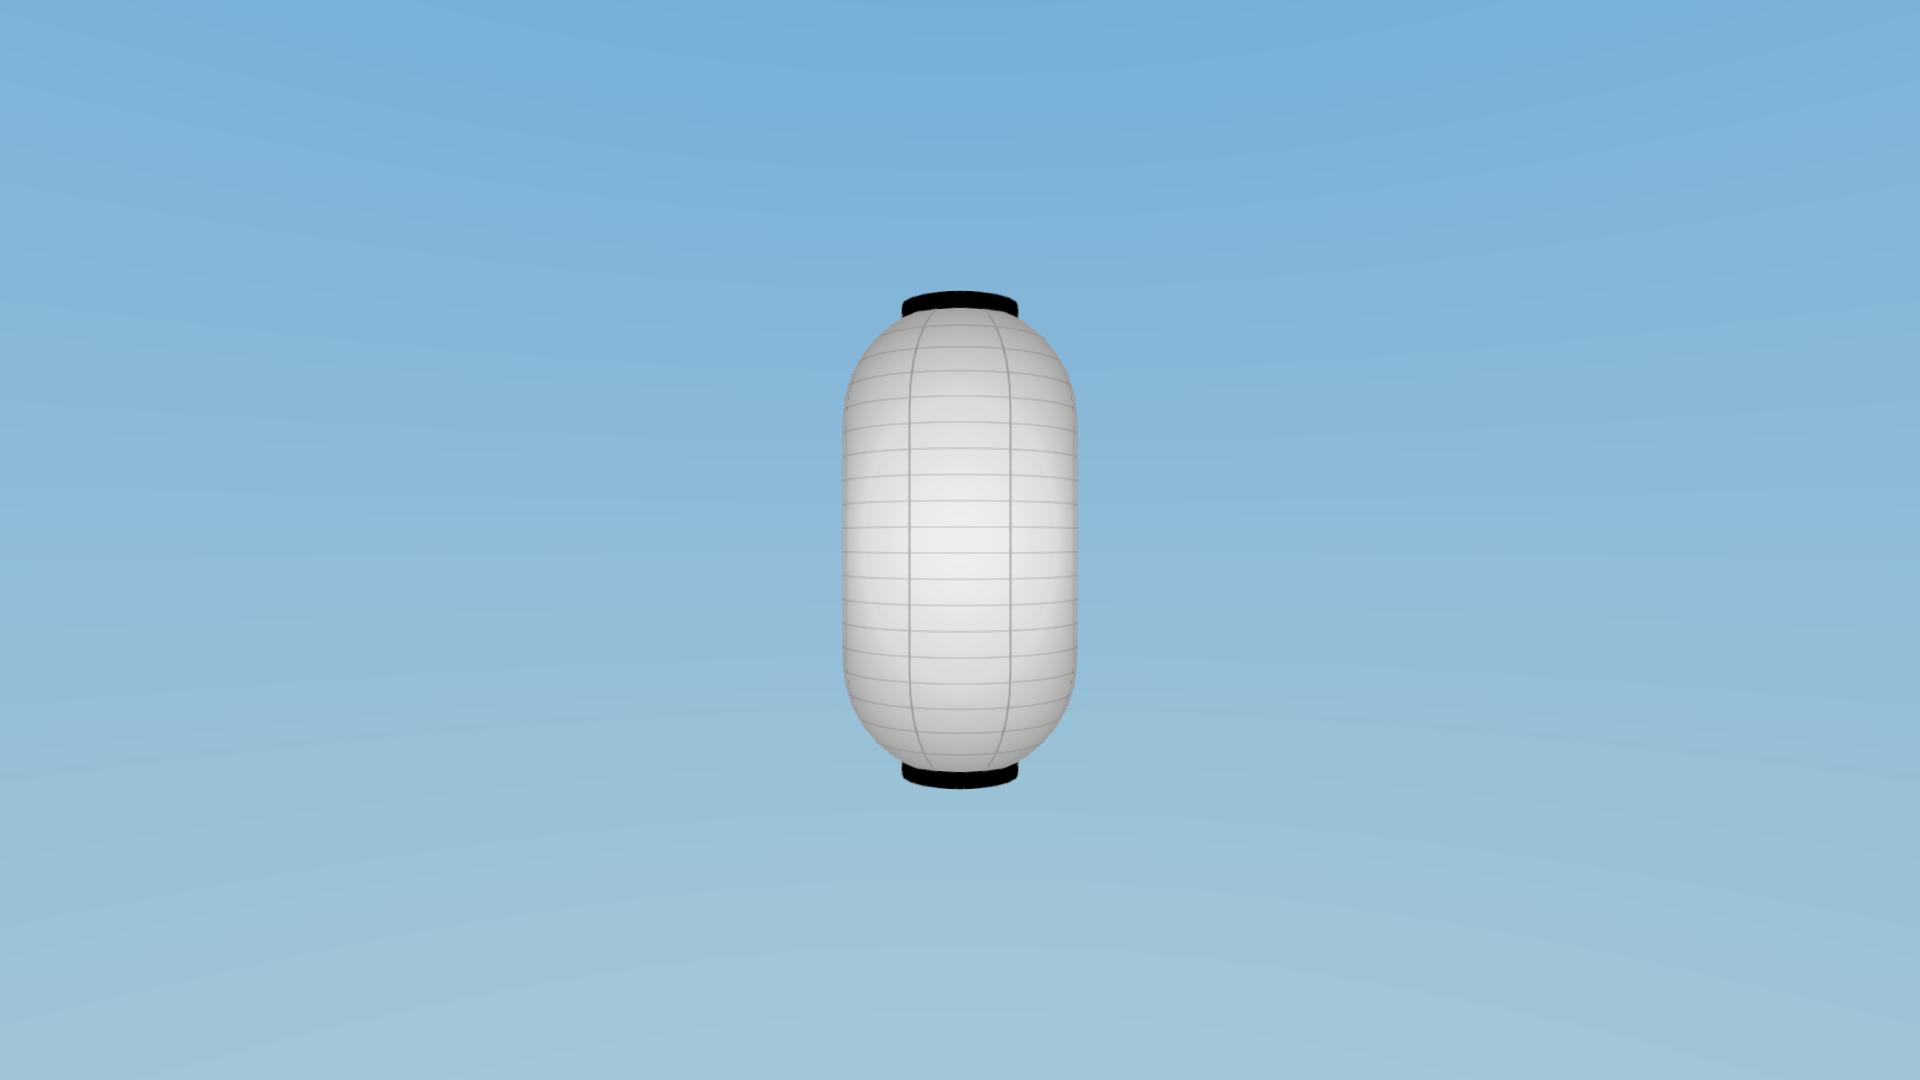
Outputting the multiply node of the brightness and wrinkle mask to the Base Color should result in the following image.
4 Flickering
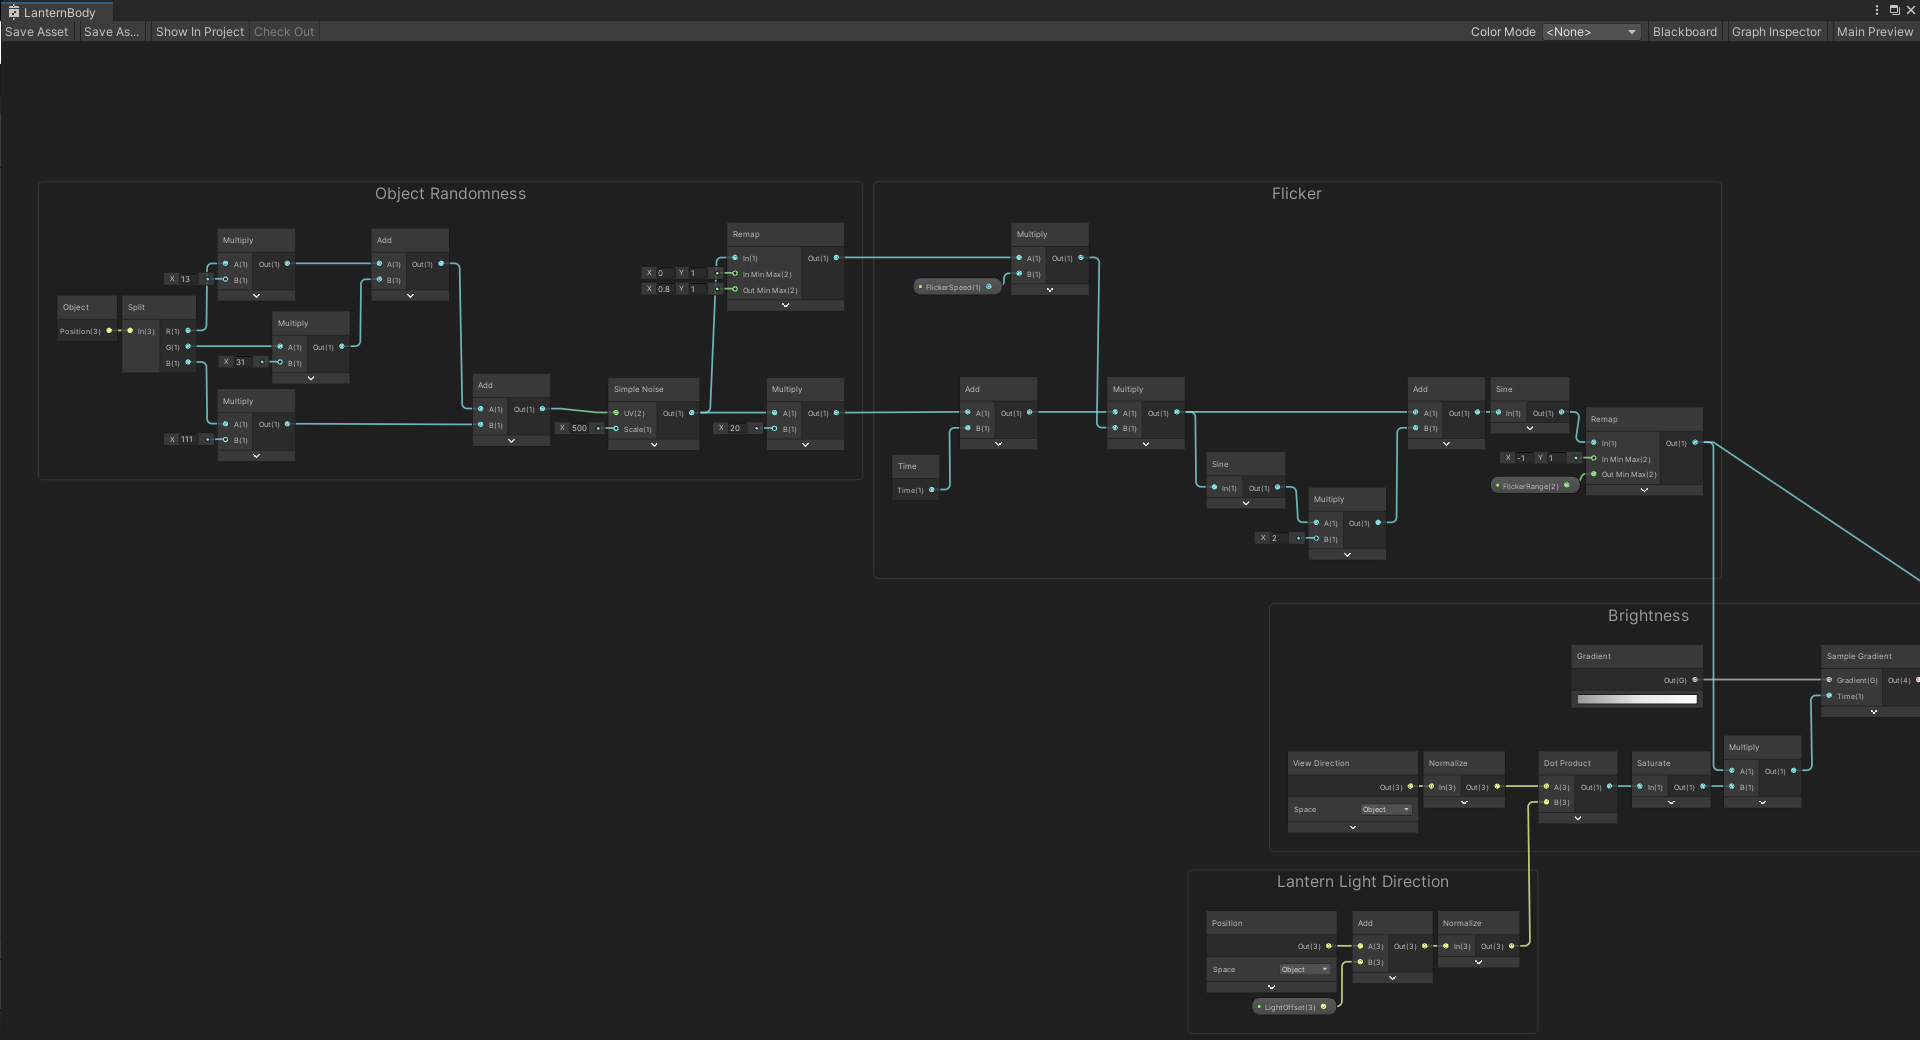
We flicker the brightness of our light using a double sine function of form \(\sin (t + 2 \sin (t))\). This flickering is offset in both time and frequency between GameObjects using some GameObject position dependent noise.
Starting with the noise, we take the object’s position, multiply each component by a prime number (13, 31 and 111) and add them together. We use this as seed for our Simple Noise node, which is not a perfect solution for randomness but it is an easy solution. We use this noise in two manners, one we multiply it by a larger number (20) and use this as offset for the time, and two we Remap it from a (0, 1) to (0.8, 1) range to vary the speed of our flickering.
The flickering itself consists of a Time node which is offset by our noise. We multiply it by a float property for the speed (which is varied by our noise). We then apply our periodic function, \(\sin (t + 2 \sin (t))\), and Remap the outcome from a (-1, 1) range to a flickering range that we set through a property.
Finally we use the output for flickering the brightness as seen in the previous section. This should result in the following behaviour.
5 Colour and Texture
All that is left is to add a HDR colour property and the ability to put some texture on the lantern.
In order to have some more control on where the texture is applied we split the UV node and Remap the v-component from a TextureHeightRange property to a (0, 1) range and saturate it. We supply this altered uv, as well as a Tiling property, to a Tiling And Offset node. Finally we sample a 2D texture and lerp between our Color property and the texture depending on the texture’s alpha channel. Be sure to set your texture property mode to Black, such that the alpha = 0 if there is no texture applied.
This texture/color is then multiplied with our previous output (wrinkle mask & light flickering) and that’s it. This should then result in our final shader that looks as follows. The texture can be found in project files (text should read Sensō-ji)
6 Conclusion
This was a relatively short tutorial but I hope you enjoyed it. If you want to support me financially you can do so using my ko-fi page. If you want to see more of me you can also check out my twitter.